 Wet felting can be really fun. However, it can also be quite frustrating as although it looks easy to do to get really great results there are quite a few things to think about and to do. If you do those it will give you better and results.
Wet felting is a fan versatile hobby. It can make lots of really practical and beautiful things. However, to get the most out of wet felting there are some basic tips and advice that you can follow so that your finished project is of much better quality. Below I have shared some of these tips for you.
While I love to wet felt, I was not exactly a natural at it. It took me a lot longer than everyone else and I didn’t find getting it to felt down enough worked for me. I guess I just wasn’t energetic enough with my felting. All the mistakes I learned meant I have had to fine tune my skills and some of those tips are in this article.
17 Easy Wet Felting Tips for Beginners For Better Results
Use The Correct Soap
As you learn to wet felt you will learn that you can use different types of soaps. This is fine and many do work. However, I recommend starting with that you use the pure olive oil soaps. These are the best for wet felting and because you know you’re using the correct equipment if you are having any issues you know it’s not the equipment that you’re using buy something you are doing wrong in your technique. Once you’ve got your technique off you can then branch out and try different soap methods because you will know what you’re looking for and how it reacts.
Some of the problems, if you’re using other types of soap, are they can create air bubbles and keep the fibers separate. This can cause problems for you to get a good finish.
Use Proper Shrinkable Wool
If you buy wool especially for felting it hasn’t been treated with anything so therefore you know that it will shrink. Some wools may not shrink due to the treatment process when they were created.
Warm Up Your Water
Make sure that the water you’re using is warm so that it helps to join your ball together.
Create or Buy a Batt
When you wet felt you do so by building up layers going different angles to each other. If you want to speed this process up or create a design beforehand you can either buy or create your own batt and wet fault with that. use a carding machine to create bats or hand carders.
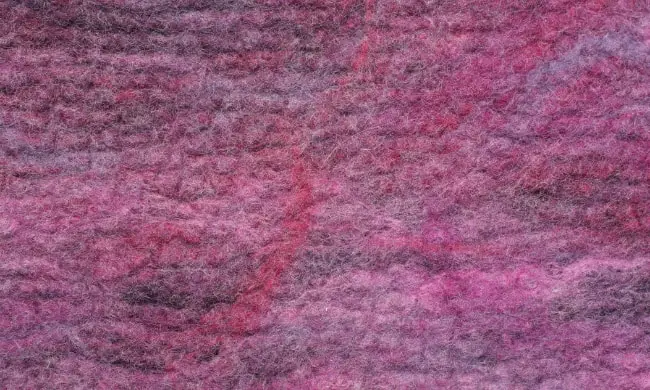
The main picture above is one that I created as a batt with a carding machine rather than create a colored layer. This was then laid onto a white base before wet felting.
Use a Towel and/or a Tray
One of the things we were taught to do was to use a towel underneath the felting this helps to stop it from slipping and keep the water in. You can also use a try to help prevent the water from damaging your work surfaces.
Use Alternating Layers
When you wet felt using loose wool (as opposed to a batt) you alternate your layers. How many layers this depends on how thick you want your project to be. In our classes, we used white wool for the back because our felting was a picture and it was going to be quite sick. For other projects, you may prefer to not use the white wool backing.
Use Even Layers and Sections
It’s a great idea to use even amounts of wall throughout this way who finished piece will be the same sickness this applies to both the full layers and also to the smaller sections that you pull off and put into those layers. Do not make your tufts too thick.
Wet Your Work
When you’re working with wet felt you’re obviously wetting the wool. If you have it too wet or it’s sopping wet it’s difficult to work with. I’ve seen people hold their pieces up and the water stream out at the end. So their pieces were too wet. The other end is that you haven’t got enough water and the ends dry of course you can and should add more. If you start in the middle and work outwards you start by dabbing your sponge and spreading the water from the center to the edges.
Rub With Care
Do not rub you are felting too vigorously. To begin with start off with patting it and then when you do rub, just rub very gently keep your hands very flat while you rub.
When Rolling Your Work
When you roll your wet felted piece you need to keep it rolled up firmly while you felt. This is not as easy as it sounds as the movement does loosen it. Some people prefer to tie up their rolls of felt while they’re rolling, it’s a matter of personal choice.
Turn Your Work
If you work on your wet felted place in one direction you will end up with a long thin piece as it will felt down more in one direction than another. In order to keep your piece the shape that you want it, you need to constantly turn it so that it is felted evenly and all four directions. Each layer must be turned.
Rinse Out Your Work
I mentioned earlier about not using ordinary soap and one reason why. Another reason for not using ordinary soap is that because there are higher soapsuds it also makes rinsing out at the end more difficult. It can take quite a while to rinse out all of the soap from your work. And it is very important that you do remove all of the soap. Start warm and use cool water for the final rinse.
Keep The Shape
When you are rinsing out your work at the end to get rid of all the soap you want to make sure that you don’t lose the shape. The best thing to do is to initially plunge your piece into the water and rinse that way and then to squeeze out the water. Do not ring it as this will alter the fibers and change the shape slightly and damage your work.
Under Felting Your Work
This was one of my major issues I think. My poor teacher tutor despaired of me. I was just too far too impatient and I wanted it finished. I would go “it’s ready, it’s ready,” and my tutor would say “you’ve got another 32-70 rolls to do.” I’d go back to the desk and put my head on and just go oh no! Lol.
So it’s vital to make sure you finish your work.
If you’re still having loose fibers and you can pull them easily then you have not worked it enough. My tutor would pinch the piece to see how much wool would come up. If any came up should send me back to roll some more. It’s vital that your piece is firm. Although for a picture it does not have to be as firm as for something like slippers or a handbag for example.
Don’t Try Control The Outcome
One of the things I struggled with wet felting is it’s more abstract and more difficult to control a needle felting. You can place your felt and make specific patterns but because you’re constantly rubbing the wool in different directions and it chooses where it wants to go I find the end results are more random than needle felting.
Pilling and Bobbling
Wet felting the wool will only felt so much and then it won’t attach anything else to it if you continue to rub it you will end up with Bubbles and bits sticking out from your flat work. The only thing you can really do with these is to remove them. I found this to be an issue more with making soap covers than with pictures.
Dry Your Work Naturally
To dry your work you need to lay it flat somewhere so that it can dry as naturally as possible and warm environments. If you can lay it on something so that the air circulates underneath it.
