If you are new to needle felting it may seem daunting to needle felt a cone. But it needn’t be and it’s an important shape to learn. I have learned how to do it and share what I learned here so you can do it as well.
To needle felt a cone you need to have a felting mat, felting needles, and some batts or tops/roving wool. First, you fold over the wool to create a cone and felt all around it and at the base until it is firm.
Here I have gone into how I felt my cone along with pictures and a video so you can follow along and felt your own cone. It’s a little more complex than the previous shapes you learned if you are following the beginner’s basics tutorials but a very important step.
Easy Beginners Tutorial – How Needle Felt A Cone Shape

In this tutorial, you are starting to learn more complex shapes. The cone is an important shape because it goes into so many projects. As a basic cone, you can use it as hats, beaks, sleeves, noses, etc. It can also be incorporated into parts of other larger items.
There are different ways to make a cone. I have seen people use a skewer to help you roll it. Some people find it easier to use this as a guide. I don’t do it that way as it didn’t work well for me.
In felting, you will find many of the things created have different methods depending on the person. I think that is because although there are tutorials and there are now many more than when I started, we all find our own way of working.
Whatever works for you is good. As long as it works and you end up with a good solid form when you finish.
Anyway, on to making a small cone. For the cone you will need the following:
Needle Felted Cone Tutorial
Tools You Need for Your Project
- Triangular needle felting needles large, medium, and small
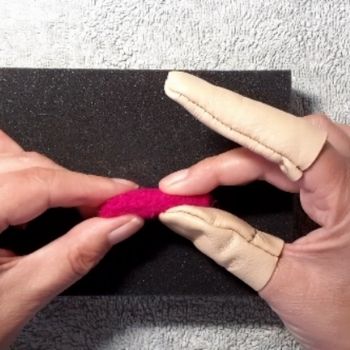
- Finger Protectors (essential)
- A Felting mat or pad
Materials You Need For the Cone
- Colored wool of your choice (Batts, Tops/Roving) Between 2g–5g (0.07oz-0.17oz) It doesn’t have to be exact.
Don’t stress about it if you don’t have the exact tools, just use what you have. Do use proper felting needles and wool though even if it’s just core wool. And some kind of pad.
Instructions For Felted Cone
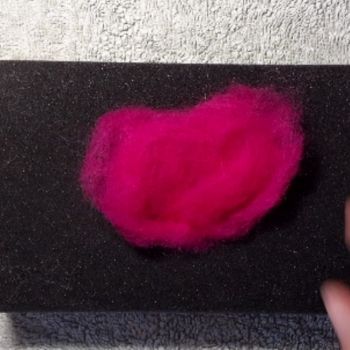
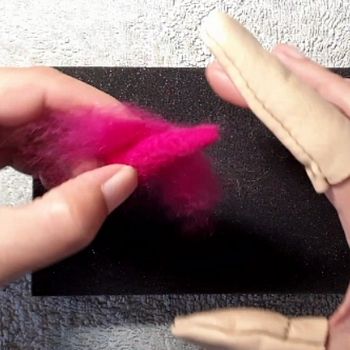
- Gently pull off the amount of wool you want to use for the cone shape. If done correctly it should come off easily. Do not cut it.
With your hands roughly arrange the wool into a flat semicircle. You can quickly tack very lightly around the edges if you need to. Here in this example, I have quickly neatened the lower curved part.
If you are using batts you can just arrange it. If you are using tops/roving you will need to pull out and crisis cross the wool before you start to mix up the fibers.
2. Create your basic cone shape ready to felt by doing the following :
A quick diagram for how you roll up your wool.
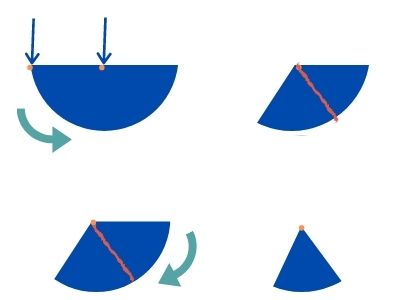
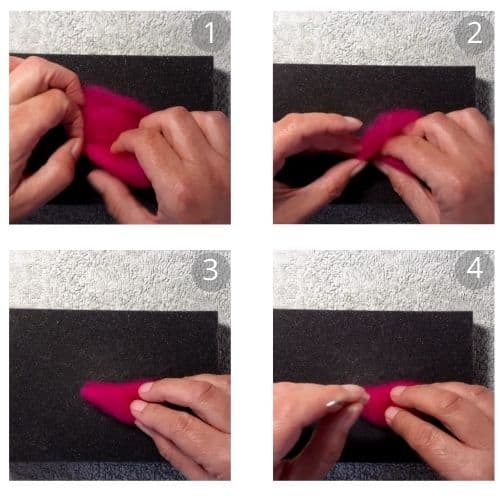
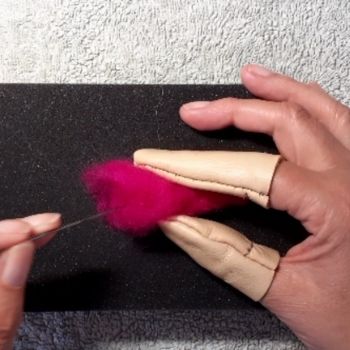
- Take one corner and roll it from the center of the flat side. It doesn’t matter which side. (Pic 1 below)
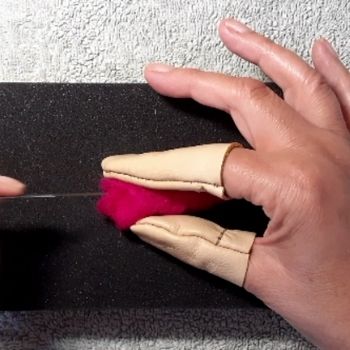
- Now take the other corner and do the same. You can also just continue to roll if you find that easier. Just make sure you keep the center point. (pic 2)
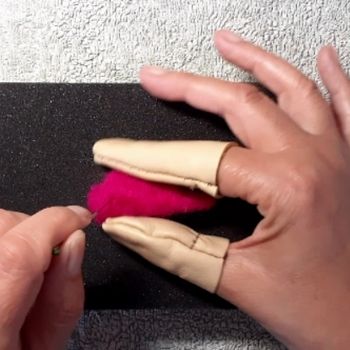
- You want to aim to get a loose cone shape. (Pic 3)
- Take your felting needle and tack down the edges so you don’t lose your shape. (Pic 4)
Its time to work on your cone with your needles. Always keep in mind the shape you want while working and aim your needle in the direction that will help to create that shape.
Important Note: Try to keep your needle away from your hands. You may have finger protectors on (in fact you should) but I’ve noticed that when I wear them it gets me into bad habits.
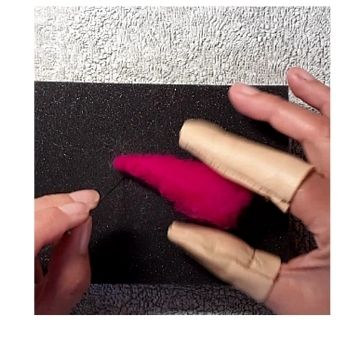
3. Take your large needle and use it to stab your cone up and down. Also, aim your needle at an angle towards the center of the cone shape. It felts not only inward but the direction you aim your needle. Remember to keep the needle straight at whatever angle you choose to avoid breakage.
Keep mainly to the thinner end of your cone but also work on the fatter end.
The aim is to work your cone all around the sides. Ignore the large flat circular base for now. Leave it loose.
You don’t want a flat cone. By working all the way around you maintain the roundness.
While working remember that you want one narrow end.
When I am working on the cone, while I work all over the surface I concentrate mostly on the narrow end.
Note: If you are creating a larger item and joining the cone to it, don’t felt the large flat base at all. You will need this un-felted in order to join it. for now, though I am assuming you are learning basic shapes see we will felt it.
4. Take your large needle if you can, or your medium needle if the large one is resisting and difficult to work with, and stab it into the base of your cone.
If necessary fold over the wool and continue to felt the base until you have a proper cone shape. You may need to also work the edges and the cone.
5. Continue to felt all over your cone making sure you pay attention to the shape you are getting and correct it as you go. If you get resistance with your needle, drop it down a size. but don’t go to a super-fine needle at this stage.
6. Check to see if your cone is wide enough. If you are not happy with the width, add more wool, and continue felting. Make sure your new wool is completely felting into your cone so you cant see it. You may need to drop a needle size to medium if it gets too firm.
In this picture above I decided I wasn’t happy with my cones width. I added more felting wool, but only to the wider part of the cone. Then felt it so it was a smooth transition. Ideally, you don’t want to leave this until the last minute as it will be difficult to felt but at this stage, there is still a lot of ‘give’ in the wool.
7. Continue to felt all around your cone until you are happy with its firmness. To check the firmness gently squeeze the cone to see how much it moves. If you think it is firm enough you have finished. If not, continue to felt until you are happy with the firmness.
If you want to add parts together to make more complex items it does need to be quite firm.
That’s it! Cone done. Another successful project finished. Give yourself a pat on the back. Another step forward on your felting journey.
Time for a well earned Cuppa!